
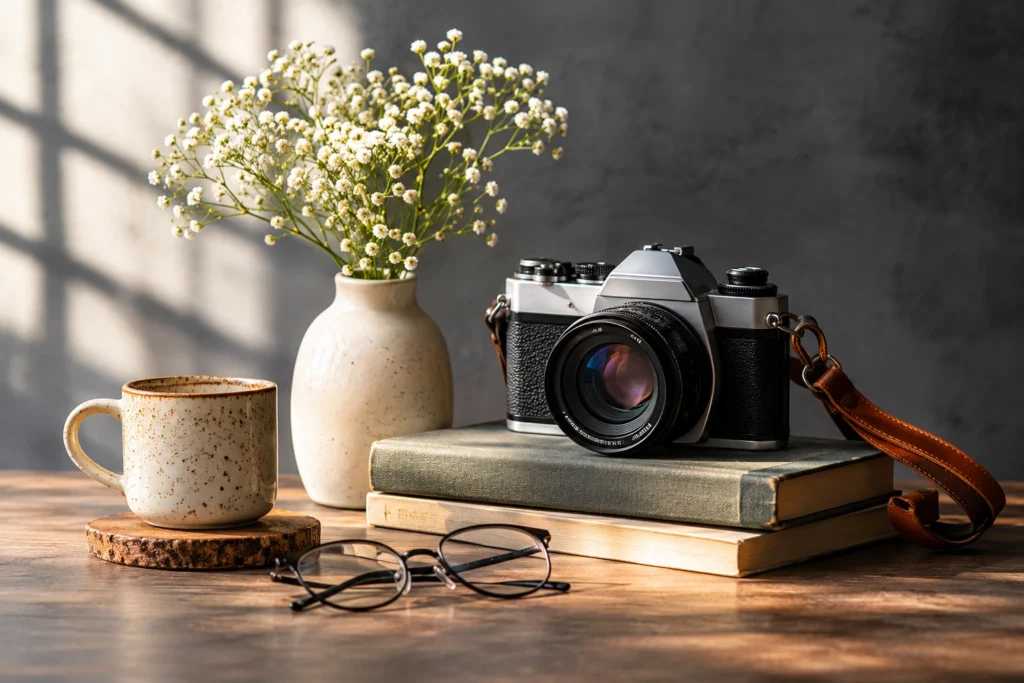
Still Life Photography for Beginners: How to Create Stunning Images
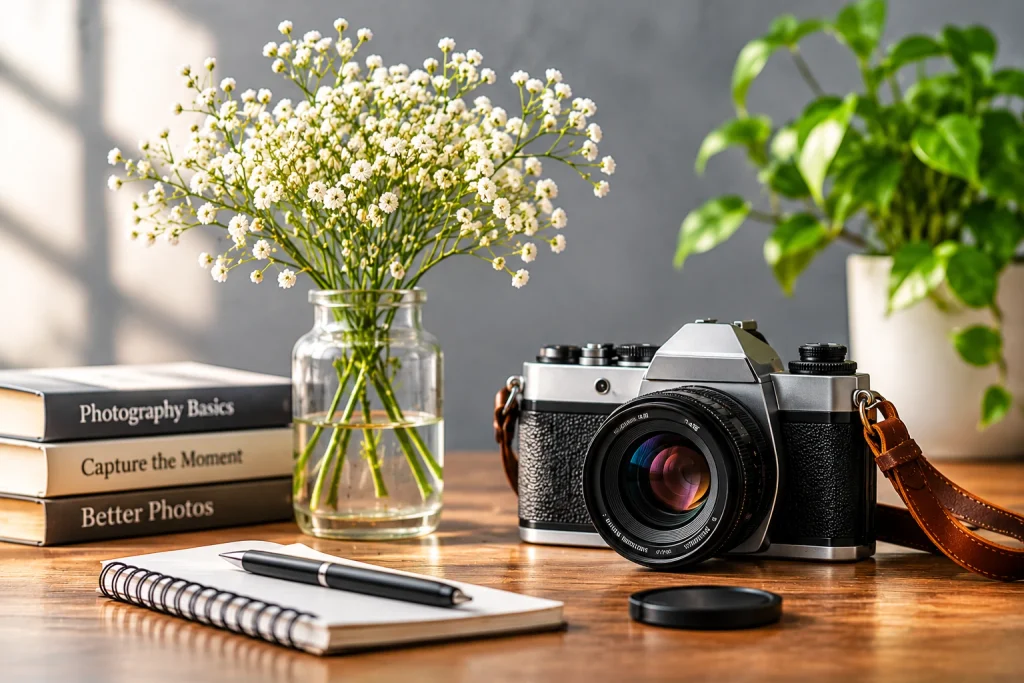
Quick answer: Still life photography is the art of photographing arranged, non-moving objects so they look beautiful, balanced, and full of meaning. The keys are soft light, a simple setup, a tripod, careful styling, and a clear focal point. Get these five right, and your images will look polished and intentional.
A bowl of fruit, a worn book, a glass of water by a window. These plain things can become striking images when you control the light and the arrangement. That quiet power is what makes still life photography so rewarding.
This guide covers still life photography for beginners from start to finish. You will learn about gear, camera settings, lighting, composition, styling, subjects, and editing. Every tip works with a dedicated camera or a modern phone. Read it once, then use the checklist on your next shoot.
What Is Still Life Photography?
Still life photography is the practice of photographing inanimate subjects that you choose, arrange, and light yourself. Because you control every element, nothing is left to chance. You decide what goes in the frame, where the light falls, and how the image feels.
The style grew out of still life painting, where artists arranged flowers, food, and household objects to show beauty, wealth, or the passing of time. Modern still life photography keeps that careful, thoughtful approach but uses a camera instead of a brush.
Why Still Life Photography Is Worth Learning
It is one of the easiest genres to start. Your subject never moves, blinks, or goes home. You can take as long as you need and repeat a shot until it works.
It also trains your eye. You learn to read light, balance shapes, and tell a story with a few objects. Those habits improve portraits, landscapes, and product work too. Because the setup is small, you can practice still life photography on a kitchen table.
There is a business side as well. Brands, magazines, cookbook authors, and online shops all need strong still images. A good set of work can lead to paid jobs.
Still Life Photography for Beginners: Where to Start
You do not need a studio. Follow this simple path:
- Learn the manual controls on your camera.
- Pick one object and one clean surface.
- Set up near a window with soft light.
- Shoot a few angles and review them on screen.
- Change one thing at a time, such as the light, the background, or the angle.
- Compare your results with images you admire.
Small, steady steps make still life photography for beginners simple and fun.
Gear for Still Life Photography
Good still life photography needs simple tools, not a big budget. Start with what you have and upgrade only when a real need appears.
1. A Camera With Manual Control
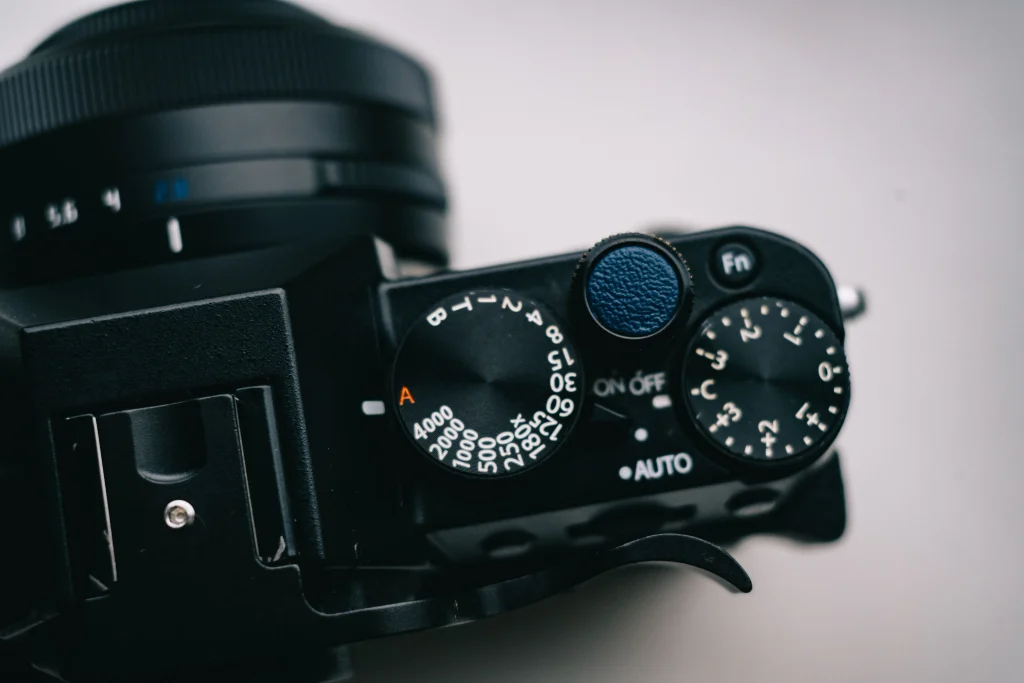
Any camera with manual mode works for still life photography. An entry-level mirrorless or DSLR is plenty. A recent phone also does well, especially with good light.
2. The Right Lens
A 50mm lens is a classic choice because it shows objects with natural proportions. An 85mm to 105mm lens, or a macro lens, suits small items and tight details. Avoid very wide lenses. They stretch shapes and make round objects look oval.
3. A Sturdy Tripod
A tripod keeps every frame sharp and lets you repeat the same angle after you move a prop. It also allows a low ISO and a small aperture. Add a remote release or a two-second timer to avoid shake.
4. Light Sources and Modifiers
Window light is free and works well. For more control, use an LED panel or a flash with a softbox. Add a white foam board to bounce light into shadows and a black card to deepen them.
5. Backdrops and Surfaces
Seamless paper, painted boards, wood planks, tiles, linen, and old baking trays all make good surfaces. Choose backgrounds that support the subject instead of competing with it. Matte surfaces cause fewer reflections than glossy ones.
6. Small Helpers
Clamps, tape, museum putty, tweezers, a spray bottle, a lint roller, a microfiber cloth, and a small level save time and stress. Putty keeps glasses and bottles in place. A spray bottle adds fresh dew to fruit and leaves.
Camera Settings for Still Life Photography
Start with these settings and adjust to the scene:
- Mode: Aperture priority or manual
- Aperture: f/5.6 to f/11
- ISO: 100 or the lowest native value
- Shutter speed: Whatever the exposure needs, since you are on a tripod
- Focus: Manual or single-point, checked with live view zoom
- White balance: Custom or daylight
- File format: RAW
These settings keep still life photography sharp and clean. Use a wide aperture, such as f/2.8, when you want a soft, dreamy background. Use f/8 to f/11 when you want the whole object sharp. Avoid f/22. It adds diffraction, which softens fine detail.
Lighting for Still Life Photography
Light is the heart of still life photography. The same bowl of lemons can look flat at noon and glowing at sunrise. Learn to see light first, and the rest gets easier.
Start With Window Light
Place a table next to a large window. Keep direct sun off the objects by hanging a thin white curtain. Add a white card on the opposite side to lift the shadows. This simple setup is the best entry point for still life photography for beginners.
Soft Light vs Hard Light
Soft light has gentle shadows and smooth highlights. It suits food, flowers, and fabric. Hard light has crisp shadows and strong contrast. It suits bold shapes, glass, and dramatic scenes. A bigger, closer light gives softer results. A smaller, farther light gives harder ones.
Light Direction
- Side light: Shows texture and shape. It is the most popular choice.
- Backlight: Makes glass, liquids, and leaves glow. It also adds a bright edge.
- Front light: Looks flat and hides texture. Use it with care.
- Top light: Works for flat lays and plates of food.
Move the light in small steps and watch how the shadows change. A few centimeters can transform the mood.
Reflectors and Flags
A reflector bounces light into the dark side of a scene. A flag, such as a black card, blocks light and deepens shadows. Together, they let you shape contrast. Even basic still life photography improves with one reflector and one flag.
Artificial Light
Continuous LED lights show you the result as you work, which suits beginners. Flash is brighter and freezes motion, such as a splash, but it needs more practice. Always diffuse the light with a softbox, a white sheet, or tracing paper.
Control Reflections
Glass, metal, and gloss show everything around them. Use large, soft light sources and black or white cards to shape the reflections. Check every edge before you press the shutter.
Composition in Still Life Photography
A clean composition guides the eye. Strong still life photography uses these ideas:
- Pick one focal point. Everything else should support it.
- Use the rule of thirds. Place the main object slightly off-center.
- Work in odd numbers. Groups of three or five feel natural.
- Build triangles. Arrange objects so their tops form a triangle.
- Add layers. Use a foreground, a middle, and a background for depth.
- Vary heights and sizes. A tall bottle, a medium bowl, and a small spoon make a pleasing mix.
- Leave negative space. Empty areas give the image room to breathe.
- Use leading lines. A knife, a ribbon, or a table edge can lead the eye.
- Check the edges. Look for crumbs, dust, and cut-off props.
Walk around the set before you shoot. A change of angle from straight-on to high above can turn a plain scene into a bold one.
Styling and Props
Good styling separates a simple snapshot from true still life photography. Think of it as telling a short story with a few objects.
Choose a theme first. A breakfast scene, a writer’s desk, and a garden harvest each call for different props. Keep to three to five items, so the frame does not feel crowded. Mix textures, such as rough linen with smooth ceramic, and match colors with care.
Add a human touch. A bite out of a cookie, a half-folded napkin, or a spoon resting on the edge of a bowl suggests life. Keep these touches small and intentional. Clean every object, and turn labels away from the camera. Remove anything that does not belong. If you doubt a prop, take it out.
Color and Mood
Color sets the mood of still life photography. Warm tones, such as orange and yellow, feel cozy and rich. Cool tones, such as blue and green, feel calm and fresh. Complementary colors, such as blue and orange, create energy. Similar colors, such as soft pinks and creams, create harmony.
Light and dark tones matter too. A bright, airy scene with white surfaces feels clean and modern. A dark scene with deep shadows feels moody and dramatic. Pick a mood before you start, then choose backgrounds, props, and light to match it.
Types of Still Life Photography
Each style of still life photography has its own approach. Try a few to find what you enjoy.
Food and Drink
Use fresh ingredients and shoot fast. Side light adds texture. Add steam, drips, or crumbs for life, but keep the plate clean.
Product and Commercial
Show the item clearly and truthfully. Use soft, even light and a clean background. Keep colors accurate, and repeat the same angle across a set.
Floral
Flowers are patient models. Shoot in soft light and use a vase or a simple surface. Look for shape, color, and the curve of a stem.
Vintage and Found Objects
Old books, keys, clocks, and tools carry stories. Use warm light and textured backgrounds to bring out age and character.
Dark and Moody
Dark, moody still life photography takes cues from old master paintings. Use a black or deep-toned background, a single side light, and rich colors. Let shadows hold most of the frame.
Minimalist
Use one object, a clean background, and a lot of space. Focus on shape, line, and color. Simple scenes need careful light and balance.
Still Life Photography Ideas to Try
Stuck for a subject? Try one of these:
- A bowl of fruit by a sunny window
- A coffee cup, a book, and a pair of glasses
- Flowers in a simple vase
- Kitchen tools on a wooden board
- A vintage camera with a few rolls of film
- A glass of water that bends the light
- A breakfast tray with toast and jam
- Seasonal items, such as pumpkins, pine cones, or shells
- A tea set with steam rising
- Shadows cast by a plant or a bottle
These ideas make still life photography for beginners easy to start. Shoot each one in at least two kinds of light, and compare the results.
Still Life Photography at Home
You can build a small studio in any room. Here is a simple setup:
- Place a table beside a window.
- Use a sheet of paper or a board as a backdrop.
- Prop the backdrop against a wall, a chair, or a stack of books.
- Put a white card opposite the window to fill shadows.
- Place a black card on the shadow side if you want more contrast.
- Set the camera on a tripod, or rest it on a stable surface.
Home setups make still life photography cheap and easy to repeat. Mark the table with tape so you can return to the same positions. Shoot at the same time of day to get consistent light.
Smartphone Still Life Photography
Many phones produce sharp, rich images. You can start still life photography with the phone you already own. Follow these steps:
- Wipe the lens.
- Turn on the grid and keep the phone level.
- Tap to lock focus and exposure.
- Use the main lens or the 2x lens, not the ultra-wide.
- Shoot near a window and avoid the flash.
- Use a small tripod or rest the phone on a stable surface.
- Use a pro or RAW mode if your phone offers one.
- Edit gently in a free app.
Avoid digital zoom, which cuts quality. Move closer or crop later instead.
A Simple Workflow
A set routine makes still life photography faster and calmer:
- Plan: Choose a theme, a mood, and a color scheme.
- Prepare: Clean every object and gather props.
- Set up: Place the backdrop, light, and tripod.
- Arrange: Build the scene, then step back and look.
- Test: Take a few frames and check focus, light, and edges.
- Adjust: Change one thing at a time.
- Shoot: Capture a range of angles and crops.
- Review and back up: Zoom in on the screen and save your files.
Editing Still Life Photography
Editing polishes your work, but it cannot save a poorly lit scene. Follow this order:
- Cull and pick the best frames.
- Crop and straighten.
- Set white balance so whites look clean and colors look true.
- Adjust exposure, contrast, highlights, and shadows.
- Fine-tune color and mood.
- Remove dust, lint, and small flaws.
- Sharpen lightly and export.
Keep edits natural. Over-saturated colors and heavy contrast look fake. Use masks to lift or darken only the parts that need it, such as the edge of a bowl or a window highlight. Save presets once you find a look you like, then adjust each image.
Still Life Photography Mistakes to Avoid
Even experienced shooters slip up. Watch for these:
- Cluttered scenes: Remove props that do not add to the story.
- Flat light: Move the light to the side, or add a reflector.
- Dust and fingerprints: Clean every item and check at 100 percent zoom.
- Distracting backgrounds: Choose simple surfaces.
- Wide lens distortion: Use 50mm or longer.
- Wrong color: Set a custom white balance.
- Missed focus: Use live view zoom and check each frame.
- Over-editing: Keep tones believable.
Most errors in still life photography come from rushing. Slow down, look closely, and take extra shots.
Troubleshooting Common Problems
Images look yellow or blue: Set a custom white balance, or fix it in RAW.
Shadows look harsh: Move the light closer, add a diffuser, or add a white fill card.
The scene looks flat: Move the light to the side or back, and add a small shadow for depth.
Glass shows reflections: Change the angle, use larger soft lights, and add black cards.
Details look soft: Use a tripod, a timer, and a smaller aperture.
The background looks messy: Move objects farther from the backdrop, or choose a plain surface.
Food looks dull: Shoot sooner, brush with a little oil, and add side light.
Still Life Photography Checklist
Use this list before every shoot:
- Theme: A clear story and mood
- Gear: Tripod, lens, light, backdrop, helpers
- Settings: f/5.6 to f/11, low ISO, RAW, custom white balance
- Light: Soft, directional, and shaped with a reflector
- Styling: Three to five props, clean and intentional
- Composition: One focal point, odd numbers, clear edges
- Focus: Checked with live view zoom
- Edit: Natural color, clean surface, light sharpening
Starter Settings for Still Life Photography
| Setup | Aperture | ISO | Notes |
|---|---|---|---|
| Window-light fruit bowl | f/5.6 to f/8 | 100 to 200 | Add a white fill card |
| Dark and moody scene | f/5.6 to f/8 | 100 | Use one side light |
| Glass and liquid | f/8 | 100 | Backlight with a panel |
| Flat lay from above | f/8 | 100 to 200 | Keep the camera parallel |
| Soft background portrait of an object | f/2.8 to f/4 | 100 to 400 | Focus on the nearest edge |
Treat these as starting points and adjust to the light you have.
Selling Your Still Life Photography
Many photographers turn still life photography into income. Clients include small brands, restaurants, cookbook authors, florists, and online shops. Stock sites and art print stores also buy or sell strong images.
Start with a focused portfolio of 15 to 25 images. Show a range of subjects, moods, and lighting styles. Offer a few low-cost projects to local businesses to gain testimonials. Create clear packages, such as a set number of images, edits, and usage rights. Spell out delivery time and pricing. Share your work on a simple website and on social platforms, and always deliver on time.
Practice Ideas to Improve Fast
- Shoot one object in three kinds of light
- Recreate a classic still life painting with a camera
- Spend one session on only one color palette
- Build a scene from five objects that share a story
- Shoot the same scene in bright and dark styles
- Review your photos weekly and note one thing to improve
Skill in still life photography grows with repeat practice. Small, steady sessions beat rare long ones.
Frequently Asked Questions
What is still life photography?
Still life photography is the practice of photographing arranged, non-moving subjects, such as food, flowers, and everyday objects. You control the light, the setup, and the mood to create a clear and meaningful image.
What are the best settings for still life images?
Try f/5.6 to f/11, ISO 100, and RAW. Use a tripod, manual focus, and soft light. Adjust the aperture to control how much of the scene is sharp.
How do I start still life photography for beginners?
Start with a camera that has manual mode, a tripod, and a window with soft light. Practice still life photography on one object at a time, such as a piece of fruit or a coffee cup. Change one thing per shoot, and review your results.
What lens is best for still life photography?
A 50mm lens suits most scenes. An 85mm to 105mm lens or a macro lens suits small objects and tight details. Avoid very wide lenses, which distort shapes.
Do I need studio lights?
No. A window and a white card are enough to begin. Add lights later when you need more control.
Can I use my phone?
Yes. Use the grid, tap to focus, shoot in soft light, and avoid digital zoom. A small tripod helps keep images sharp.
How many props should I use?
Use three to five props for most scenes. Fewer props make a cleaner image. Add more only if each one supports the story.
Key Takeaways
- Light matters most. Use soft, directional light and a reflector.
- Choose one focal point and keep the scene simple.
- Use a tripod and shoot in RAW.
- Style with a story, a color scheme, and a few props.
- Still life photography rewards patience, so slow down and practice often.
Conclusion
Still life photography for beginners is a skill anyone can learn. Choose a simple subject, control the light, style with care, and edit with a light hand. Each shoot teaches you something new about shape, color, and mood.
Start your next still life photography session with the checklist above. Begin with a window, a bowl of fruit, or a favorite mug, and build from there. With time and practice, your images will grow calmer, richer, and more confident.