
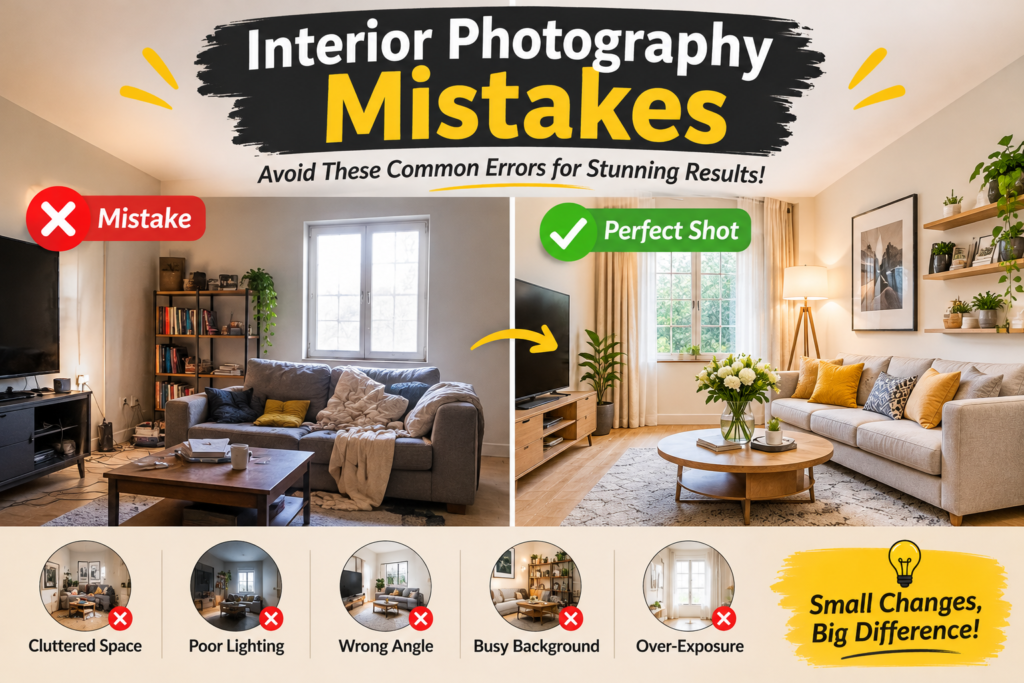
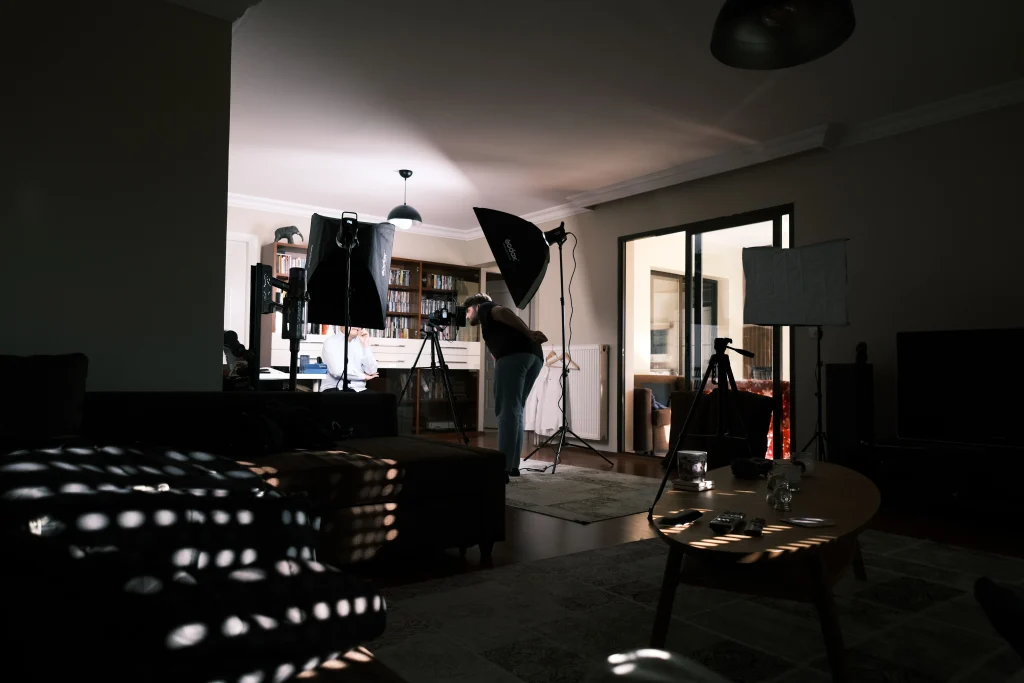
Quick answer: The most common interior photography mistakes are poor lighting, tilted lines, cluttered rooms, the wrong lens, and heavy editing. Fix these five first, and your room photos will look brighter, sharper, and more professional.
A well-designed room can look average in a bad photo. It can seem dark, small, or crooked on screen. That hurts property listings, design portfolios, and websites.
This guide covers the interior photography mistakes that cost designers, realtors, and photographers the most. You will learn why each one happens and how to fix it. The tips work with a pro camera or a phone.
What Are Interior Photography Mistakes?
Interior photography mistakes are errors in light, framing, styling, or editing that make a room look worse than it is. They are easy to make. Indoor spaces are tight, often dim, and full of mixed light.
Common interior photography mistakes fall into four groups:
- Light and color
- Composition and angles
- Styling and prep
- Gear and editing
Why Interior Photography Mistakes Hurt Your Business
Photos are the first thing a client sees. Buyers decide in seconds whether to click on a listing. Homeowners judge a designer by the portfolio before they ever make a call.
Poor images send the wrong message. They suggest low quality, even when the work is excellent. Fixing interior photography mistakes is one of the cheapest ways to raise the value of your work. Better photos get more clicks, more inquiries, and more shares.
Search engines also reward good visuals. Sharp, well-lit images keep visitors on your page longer. That sends strong signals about your content.
Light and Color Mistakes
1. Relying on Overhead Room Lights
Ceiling lights cast harsh shadows and a yellow tint. Many beginners switch on every lamp and hope for the best. The result is a flat, muddy image.
Use soft daylight from the windows instead. Turn off overhead lights if they clash with the daylight. Add lamps only when their warmth matches the rest of the scene. This is one of the most common interior photography mistakes, and one of the easiest to fix.
2. Mixing Light Colors
Daylight is cool. Bulbs are warm. When both appear in one frame, colors look wrong. One wall turns orange while another turns blue.
Pick one main light source. Set a custom white balance to match it. Shoot in RAW so you can fine-tune color later. If you can, swap mismatched bulbs before the shoot so they share the same color temperature.
3. Shooting at the Wrong Time of Day
Midday sun can blow out windows and throw hard patches of light on floors. Late evening leaves rooms dim and gloomy. Soft, even light works best.
Visit the room at different times and note when the light looks best. A north-facing room may glow in the morning, while a west-facing room may shine at sunset. Photographers who skip this step repeat the same interior photography mistakes on every job.
4. Blown-Out Windows and Dark Interiors
Cameras struggle with the gap between a bright window and a dim room. You either lose the view outside or lose the detail inside.
Use bracketing. Take three to five shots at different exposures, then blend them in editing. A tripod keeps every frame aligned. On a phone, use HDR mode, or tap the darker area of the screen to lift the exposure. Then lower the highlights slightly so the window keeps some detail.
Composition and Angle Mistakes
5. Tilted Verticals
Leaning walls and bending door frames are among the most visible common interior photography mistakes. They happen when you tilt the camera up or down to fit more in the frame.
Keep the camera level. Turn on the grid lines on your screen. Place the camera at about chest height, around 1.2 to 1.5 metres, for most rooms. Fix small errors later with the perspective tool in your editing app. Do not rely on editing alone, though. Big corrections stretch the image and cut off the edges.
6. Shooting From the Wrong Height
Shoot too low, and the ceiling takes over the frame. Shoot too high, and the floor does. Neither shows the room well.
A mid-height camera gives balanced lines and a natural view. Adjust slightly for each space. In kitchens, raise the camera a little so the counters look clean and open. In bedrooms, drop closer to bed height so the bed looks inviting. Check that the top and bottom edges of the frame feel even.
7. Using a Lens That Is Too Wide
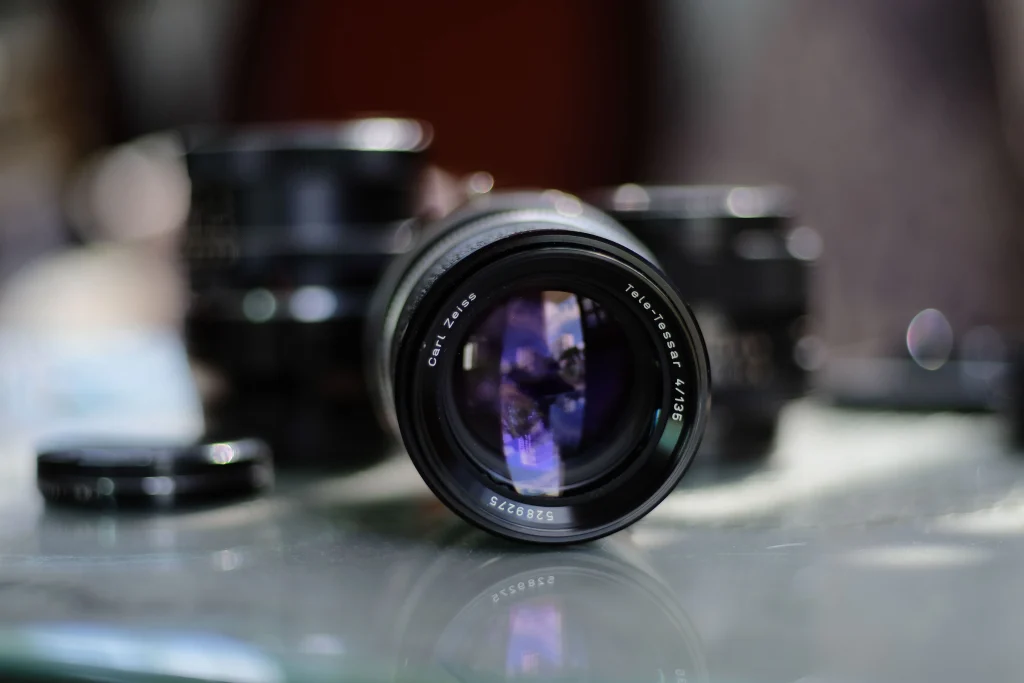
Ultra-wide lenses make rooms look huge. They also stretch the edges and warp furniture. Buyers feel misled when they walk in and find a smaller space. This is one of the interior photography mistakes that damages trust.
On a full-frame camera, a lens between 16mm and 24mm works well for most rooms. On a phone, use the main lens for most shots and the ultra-wide only for tight spaces. Aim to show the room as it is, only better lit.
8. Shooting Only Straight-On From the Doorway
Every photo taken from the doorway looks the same. It feels flat and tells the viewer little.
Try corner shots to show depth and how spaces connect. Then add detail shots, such as a lamp, a texture, or a styled shelf. A mix of wide, medium, and close frames tells the full story of the room. Clients can then pick the images that fit their needs.
9. Ignoring Leading Lines and Balance
Lines in floors, ceilings, and furniture guide the eye. When they clash, the image feels messy.
Look for lines that lead into the room, like floorboards or a long rug. Keep large items from crowding one side of the frame. Before you press the shutter, check all four corners for stray objects, cut-off furniture, or awkward gaps. A few seconds here saves a lot of time later.
Styling and Prep Mistakes
10. Skipping the Clean-Up
Dust, fingerprints, cords, and clutter show up in photos. Cameras see more than the eye does, especially at high resolution.
Walk the room before you shoot. Wipe surfaces, hide cables, remove remotes, and straighten cushions. Clear away bins, toiletries, and personal items. Check floors and glass for marks. This prep step prevents many common interior photography mistakes before you even pick up the camera.
11. Poor Staging
Furniture pushed flat against every wall makes a room look stiff and unwelcoming. When everything hugs the perimeter, the space feels like a waiting room instead of a home. Pull the sofa slightly away from the wall and angle it a little. This small shift creates a natural flow, adds depth to the frame, and gives the camera more to work with.
Next, add a few simple touches that bring life to the scene. A soft throw draped over the arm of a chair adds texture. A small plant brings color and freshness. A short stack of books on a side table adds character without clutter. Groups of three items usually look balanced without feeling forced, so try arranging your props in threes and vary their heights for visual interest.
Be careful not to over-style, though. A room should look lived-in and warm, not like a showroom set. If every cushion is perfectly placed and every surface is bare or overly decorated, the photo can feel cold and fake. Aim for a relaxed, welcoming look that a real person could enjoy.
Before you shoot, take a final look around the room. Check each corner of the frame and remove anything that does not add to the story of the space. Less clutter always photographs better, and the design you worked hard on will stand out clearly.
12. Forgetting Reflections and Moving Parts
Mirrors, glass doors, and glossy surfaces can show the photographer, the tripod, or a bright lamp. Shift your angle until you disappear from the reflection. Turn off TVs, since a black screen looks dull. Stop ceiling fans so they do not blur.
Check the screen closely. Small reflections are easy to miss until you see the image on a large monitor.
Gear and Editing Mistakes
13. Skipping the Tripod
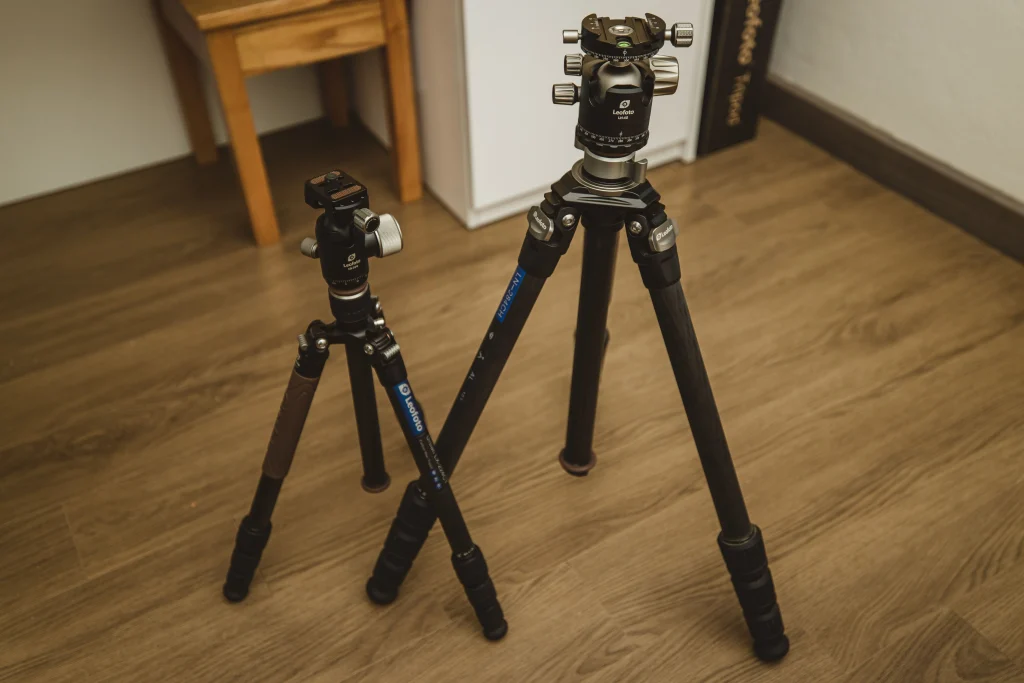
Handheld shots in dim rooms cause blur and tilt. A tripod lets you use a low ISO, a small aperture, and a longer exposure. That gives clean, sharp detail from corner to corner.
Try f/8 to f/11 for good depth of field. Use a timer or remote to avoid camera shake. A tripod also helps you repeat the same framing for bracketed shots.
14. Over-Editing
Heavy filters, high saturation, and extreme HDR look fake. Clients can spot them at once. These interior photography mistakes cost you trust and leads.
Keep edits natural. Fix exposure, correct white balance, straighten lines, and clean up small flaws. If the room in the photo does not match the room in person, you have gone too far.
15. Not Shooting in RAW
JPEG files lock in color and exposure the moment you press the shutter. The camera compresses the image and throws away data, so there is very little room to fix mistakes later. RAW files keep all the information the sensor captured. That gives you the freedom to recover detail in dark shadows, tame bright highlights near windows, and correct white balance when the light is mixed.
This matters in interiors, where daylight and warm bulbs often share one frame. With a RAW file, you can fine-tune color without damaging image quality. You can also pull back blown-out window areas that a JPEG would lose for good.
Shooting in RAW is one of the cheapest upgrades for better results, since most cameras and many phones already support it. The only real downside is larger file size. A fast memory card and some extra storage solve that easily. Once you see how much more you can recover, you will not want to go back.
Room-by-Room Tips to Avoid Interior Photography Mistakes
Each room has its own traps. Use these quick fixes.
Living room: Show the seating area as a whole. Keep the sofa from filling the foreground. Straighten rugs and fluff the cushions.
Kitchen: Clear the counters, hide the dish rack, and wipe the sink. Shiny taps and appliances pick up reflections, so check them twice.
Bedroom: Make the bed neatly, with no wrinkles. Keep bedside lamps at the same height. Avoid shooting straight at a mirror.
Bathroom: Close the toilet lid, hide the bins, and put out fresh towels. Wipe every surface, since chrome shows every mark.
Small spaces: Shoot from a corner to show the full layout. Avoid extreme wide angles, which make tiny rooms look unreal.
Interior Photography Mistakes Checklist
Use this list before every shoot:
- Light: One main source, mostly natural, balanced color
- Camera: Level, chest height, tripod on
- Lens: 16 to 24mm, no heavy distortion
- Room: Clean, staged, no clutter or reflections
- Files: RAW format, bracketed if windows are bright
- Edit: Natural color, straight lines, no heavy filters
Starter Camera Settings for Interiors
These settings are a good starting point on a tripod:
| Setting | Suggested value |
|---|---|
| Mode | Aperture priority or manual |
| Aperture | f/8 to f/11 |
| ISO | 100 to 200 |
| White balance | Custom or daylight |
| File format | RAW |
| Drive mode | 2-second timer or remote |
Adjust shutter speed to get a balanced exposure. In dim rooms, it may run to several seconds. That is fine on a tripod.
How to Avoid Interior Photography Mistakes With a Phone
You do not need expensive gear to avoid interior photography mistakes and get good room photos. Modern phones handle most interiors well, thanks to sharp lenses, smart processing, and built-in HDR. What matters more is how you use them. A few simple habits can lift your results from average to professional.
Start by wiping the lens. Phones spend their days in pockets and bags, so smudges build up fast and cause hazy, low-contrast images. This is one of the easiest interior photography mistakes to fix. A quick wipe with a soft cloth makes a surprising difference, especially when you shoot toward bright windows.
Next, turn on the grid in your camera settings. The grid lines help you keep walls and door frames straight, which fixes one of the most visible interior photography mistakes in room photos. Then tap the screen to lock focus and exposure. If a window looks too bright, tap the darker part of the room and slide the exposure down slightly until both areas look balanced.
Stability matters too. Even a slight shake can blur an image in a dim room, and camera shake is one of the interior photography mistakes that ruins otherwise good shots. Use a small tripod if you have one. If not, rest the phone on a stack of books or a shelf, and use the timer to avoid touching the screen when you shoot.
Most common interior photography mistakes on phones come from digital zoom, tilted angles, and harsh flash. Avoid all three, and you will prevent most interior photography mistakes before they happen. Digital zoom crops the image and reduces quality, so move your feet instead of zooming. Keep the phone level to prevent leaning walls. Skip the flash, which creates glare and flat, unnatural light. Turn to natural daylight from the windows instead.
Finally, edit gently in a free app. Straighten the lines, lift the shadows, and correct the white balance. Add a touch of contrast and sharpening, then stop. Heavy filters create new interior photography mistakes, and natural-looking photos earn more trust. They show off the room exactly as it deserves to be seen.
How to Fix Interior Photography Mistakes in Editing
Some problems can be repaired after the shoot. Follow this simple order:
- Crop and straighten the image.
- Correct vertical lines with the perspective tool.
- Set white balance so whites look clean.
- Lift shadows and lower highlights.
- Add light contrast and a touch of sharpening.
- Remove small flaws, like marks or stray cables.
Stop there. Editing cannot rescue a badly lit, cluttered room. It is far better to avoid interior photography mistakes on site than to fix them later.
Frequently Asked Questions
What are the most common interior photography mistakes?
The most common interior photography mistakes are bad lighting, tilted vertical lines, cluttered rooms, wide-angle distortion, and over-editing. Fixing light and angles first brings the biggest improvement.
How do I avoid interior photography mistakes on a phone?
Use natural light, keep the phone level, avoid digital zoom, and tap to set exposure. A small tripod helps keep shots sharp and straight.
What lens is best for interior photography?
A lens between 16mm and 24mm on a full-frame camera suits most rooms. It shows space without heavy distortion.
Should I edit interior photos?
Yes, but lightly. Correct color, brightness, and perspective. Avoid heavy filters that change how the room really looks.
What time of day is best for shooting interiors?
Soft, even daylight is best. This is often morning or late afternoon, depending on window direction.
How many photos should I take of each room?
Take 5 to 10 frames per room: a few wide shots, a few medium shots, and some close-up details.
Conclusion
Strong room photos come from good habits. Control the light, keep your lines straight, prep the space, and edit with care. Avoid the interior photography mistakes above, and your photos will show off the design instead of hiding it.
Start with the checklist on your next shoot. Fix one or two common interior photography mistakes at a time, and you will see the difference quickly.